Alright, buckle up, because this is going to be a long ride. I’m about to take you through the nitty-gritty details of how I built a browser-based offline video recorder, the challenges I faced, and the solutions I came up with. This isn’t just a “here’s what I did” post.. it’s a deep dive into the why and how behind every decision, and every workaround.
First things first, when I started this project, I thought, “Why not just livestream the browser’s gameplay and record it in real time?” It seemed like the simplest solution. Just run the browser, capture the screen, and pipe the frames into ffmpeg. Easy, right? Wrong.
Table of Contents
- Setting Up the Infrastructure: Docker, Virtual Display, and Audio
- Challenges with Virtual Display
- Challenges with Capturing Audio!
- We're Just Getting Started
- Why Virtual Time Was Needed
- The FPS Math Behind It
- The Calculations
- Time Step per Frame
- Total Frames
- Advancing Virtual Time
- Capturing Frames
- And I Still Had Issues...
- How It All Comes Together
- Conclusion
Setting Up the Infrastructure: Docker, Virtual Display, and Audio
Challenges with Virtual Display
Browsers need a display to render graphics, even in headless mode. Without a display, you’ll run into nasty errors..
I used Xvfb (X Virtual Framebuffer) to create a virtual display inside the Docker container and fluxbox, a lightweight window manager, to manage the virtual display.
Challenges with Capturing Audio!
Capturing audio from the browser was another challenge. Browsers don’t output audio directly in headless mode, so I had to use PulseAudio to create a virtual audio sink and Configure the browser to output audio to this virtual sink to finally use ffmpeg to record audio from the virtual sink.
We're Just Getting Started
-
Laggy Video: The browser couldn’t keep up with rendering complex graphics in real time. Frames were dropped, animations stuttered, and the final video looked like it was running on a potato.
-
Desynchronized Audio: Audio and video were out of sync because the browser’s rendering speed fluctuated. Sometimes the browser would lag behind, and the audio would keep playing, resulting in a mess.
-
Unpredictable FPS: The FPS of the captured video was all over the place. One second it was 30 FPS, the next it was 15 FPS, and then it jumped to 60 FPS, making the video unwatchable.
I realized that livestreaming wasn’t going to cut it. Instead, I needed to capture the browser’s output in offline mode. This meant:
- Instead of letting the browser run at its own pace, I would manually advance its time in fixed increments
- By controlling virtual time, I could ensure that every frame was captured at exactly the right moment
- Once I had all the frames, I could use ffmpeg to create a smooth, high-quality video
Why Virtual Time Was Needed
Browsers are designed to run in real time. They rely on the system clock to schedule animations, timers, and rendering. But when the browser is under heavy load (e.g., rendering a graphics-heavy game), it can’t keep up.
soo... I faced the following issues
- The browser skips frames to catch up with the system clock
- Animations and timers don’t run smoothly because the browser is struggling to keep up
Virtual time is like a cheat code for the browser. Instead of relying on the system clock, I injected a javascript patch that let me control the browser’s time manually.
What did I do?
- I disabled the browser’s reliance on the system clock
- I manually advanced the browser’s time in fixed increments (e.g., 33.33 ms for 30 FPS) (will explain later the maths behind it)
- I patched the browser’s animation and timer APIs to use virtual time instead of real time
This gave me complete control over the browser’s rendering. No more dropped frames, no more inconsistent timing.. just smooth, predictable output.
The FPS Math Behind It
Let’s say I wanted to create a 10-second video at 30 FPS. That means:
- The video needs to have 300 frames (10 seconds × 30 FPS)
- Each frame needs to represent 33.33 ms of virtual time (1000 ms ÷ 30 FPS)
The Calculations
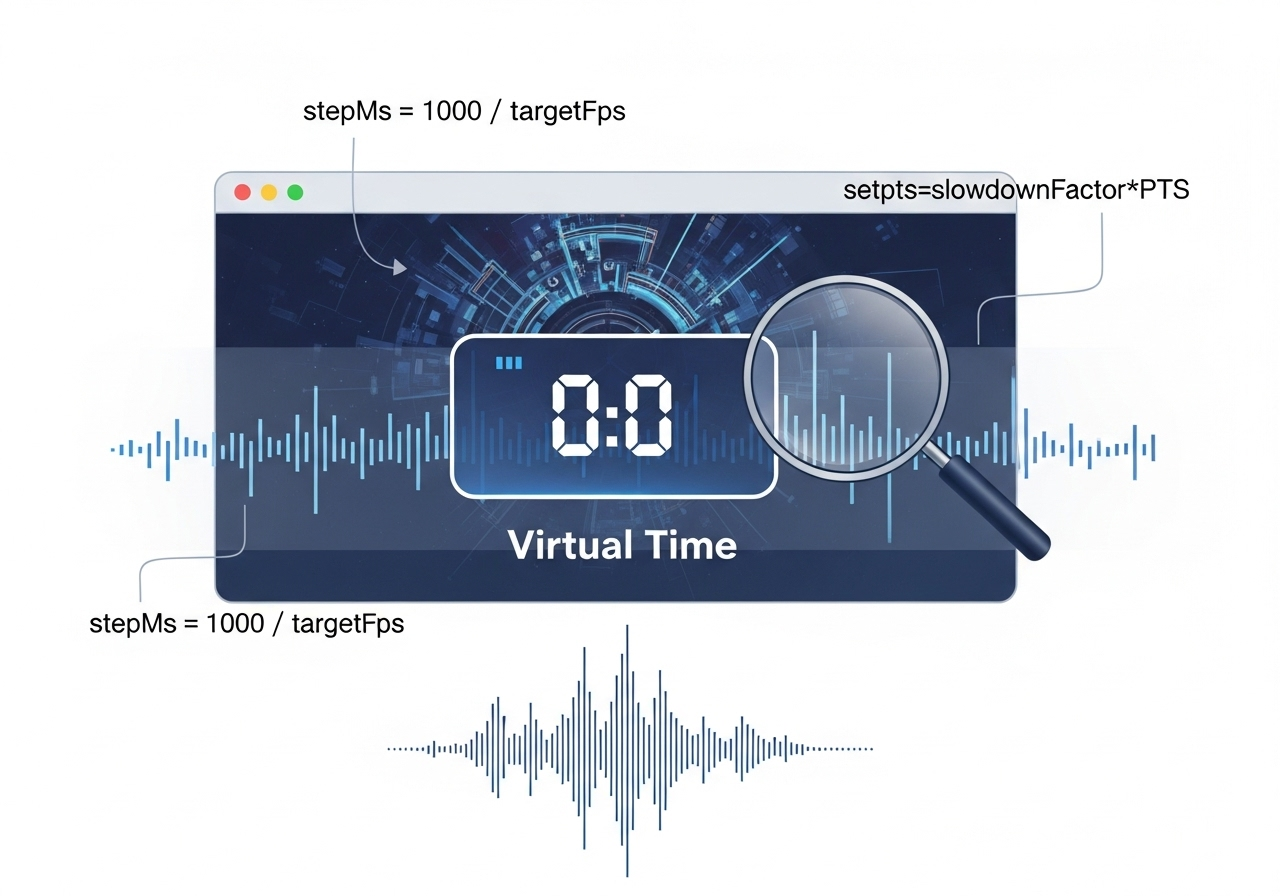
Time Step per Frame
stepMs = 1000 / targetFps = 33.33ms
Total Frames
totalFrames = 10000 / 33.33 = 300 frames
Advancing Virtual Time
In each loop, I advanced the browser's virtual time by stepMs, using the following javascript patch:
window.__advanceVirtualTime(stepMs);
The advanceVirtualTime is a method that does a lot of stuff behind the scenes, basically manipulating builtin functions such as setInterval etc.
Capturing Frames
After advancing virtual time, I captured a screenshot of the browser’s output using Puppeteer’s page.CaptureScreenshot()
And I Still Had Issues...
Offline Capturing Isn’t Real-Time!
When you capture frames offline, the actual time spent capturing them doesn’t match the intended duration of the video. For example:
If you capture 300 frames in 2 seconds, ffmpeg will assume the video duration is 2 seconds. But the actual gameplay duration is 10 seconds, this results in a video that plays in fast forward.
To fix this, I used ffmpeg’s setpts filter to adjust the playback speed:
-filter:v "setpts=slowdownFactor*PTS"
where:
slowdownFactor = actualDuration / intendedDuration
in this case: 10 / 2 = 5
so now the video plays at the correct speed!
How It All Comes Together
I used PulseAudio to create a virtual audio sink (virtual_sink.monitor) and ffmpeg to record audio from it
I injected a JavaScript patch into the browser to control virtual time
I advanced virtual time in fixed increments and captured frames using Puppeteer
I piped the captured frames into ffmpeg to create the video
I adjusted playback speed
So by going with offline capturing, I had consistent fps by controlling the virtual time, I basically ensured that every frame was capture at exactly the right time. No dropped frames, since the browser wasn't running in real time, it didn't drop frames to catch up with the system clock. Every single frame was rendered and captured perfectly. All in all, the final video was smooth, high-resolution and with no lag
Conclusion
It wasn’t easy, but damn I liked it. If you’re building something similar, I hope this post saves you some headaches haha And if you’re just here for the nerdy details, I hope you enjoyed the deep dive :D